User Guide
Complete guide to get started with n8n SaaS Platform
Table of Contents
1. Creating Your Account
Step 1: Navigate to the registration page by clicking "Sign up" from the homepage.
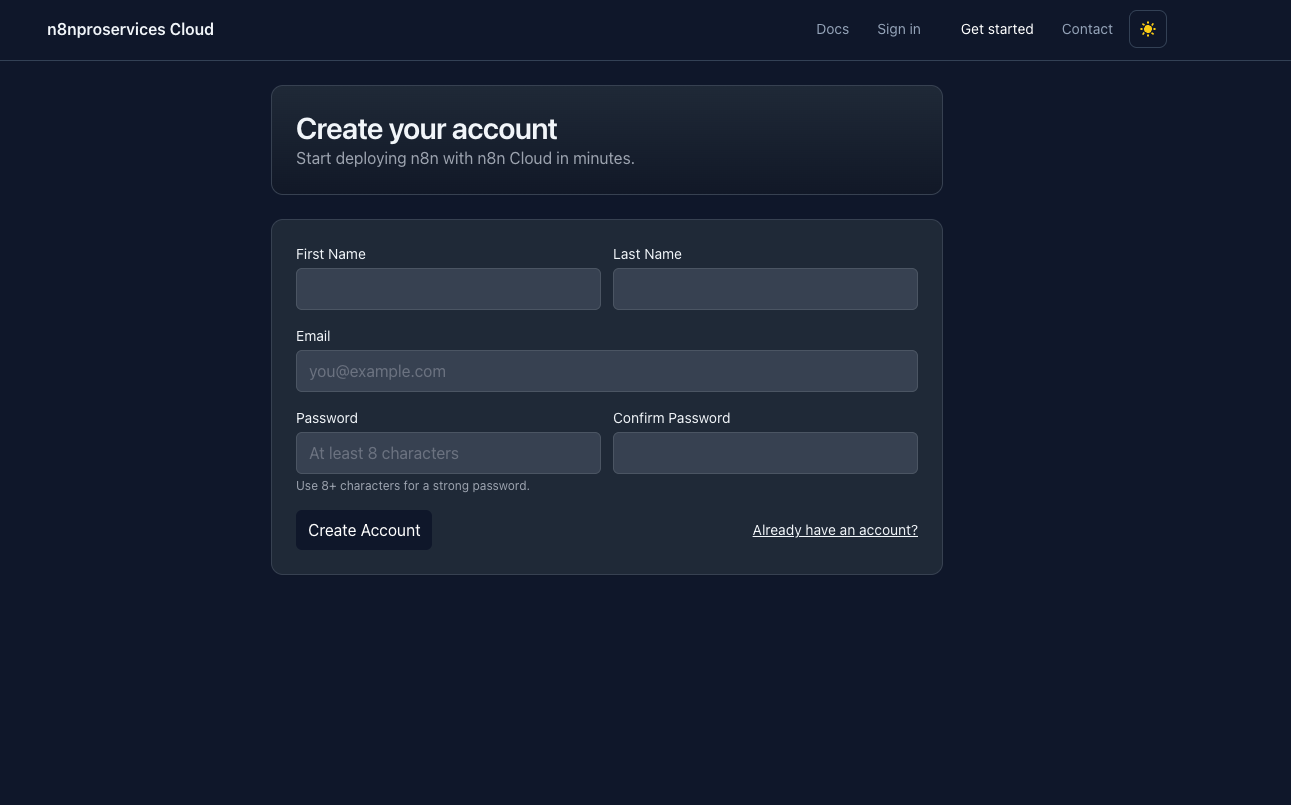
Step 2: Fill in the registration form with the following information:
- Email: Your valid email address (used for login and notifications)
- Password: Strong password (minimum 8 characters)
- Confirm Password: Re-enter your password
Step 3: Click the "Create Account" button to submit your registration.
Note: By default, all new accounts are assigned the Free tier with the following limits:
- 1 environment
- Unlimited workflow executions
1.1 Email Verification
Step 1: After registration, you'll see a verification message. Check your email inbox for a verification email.
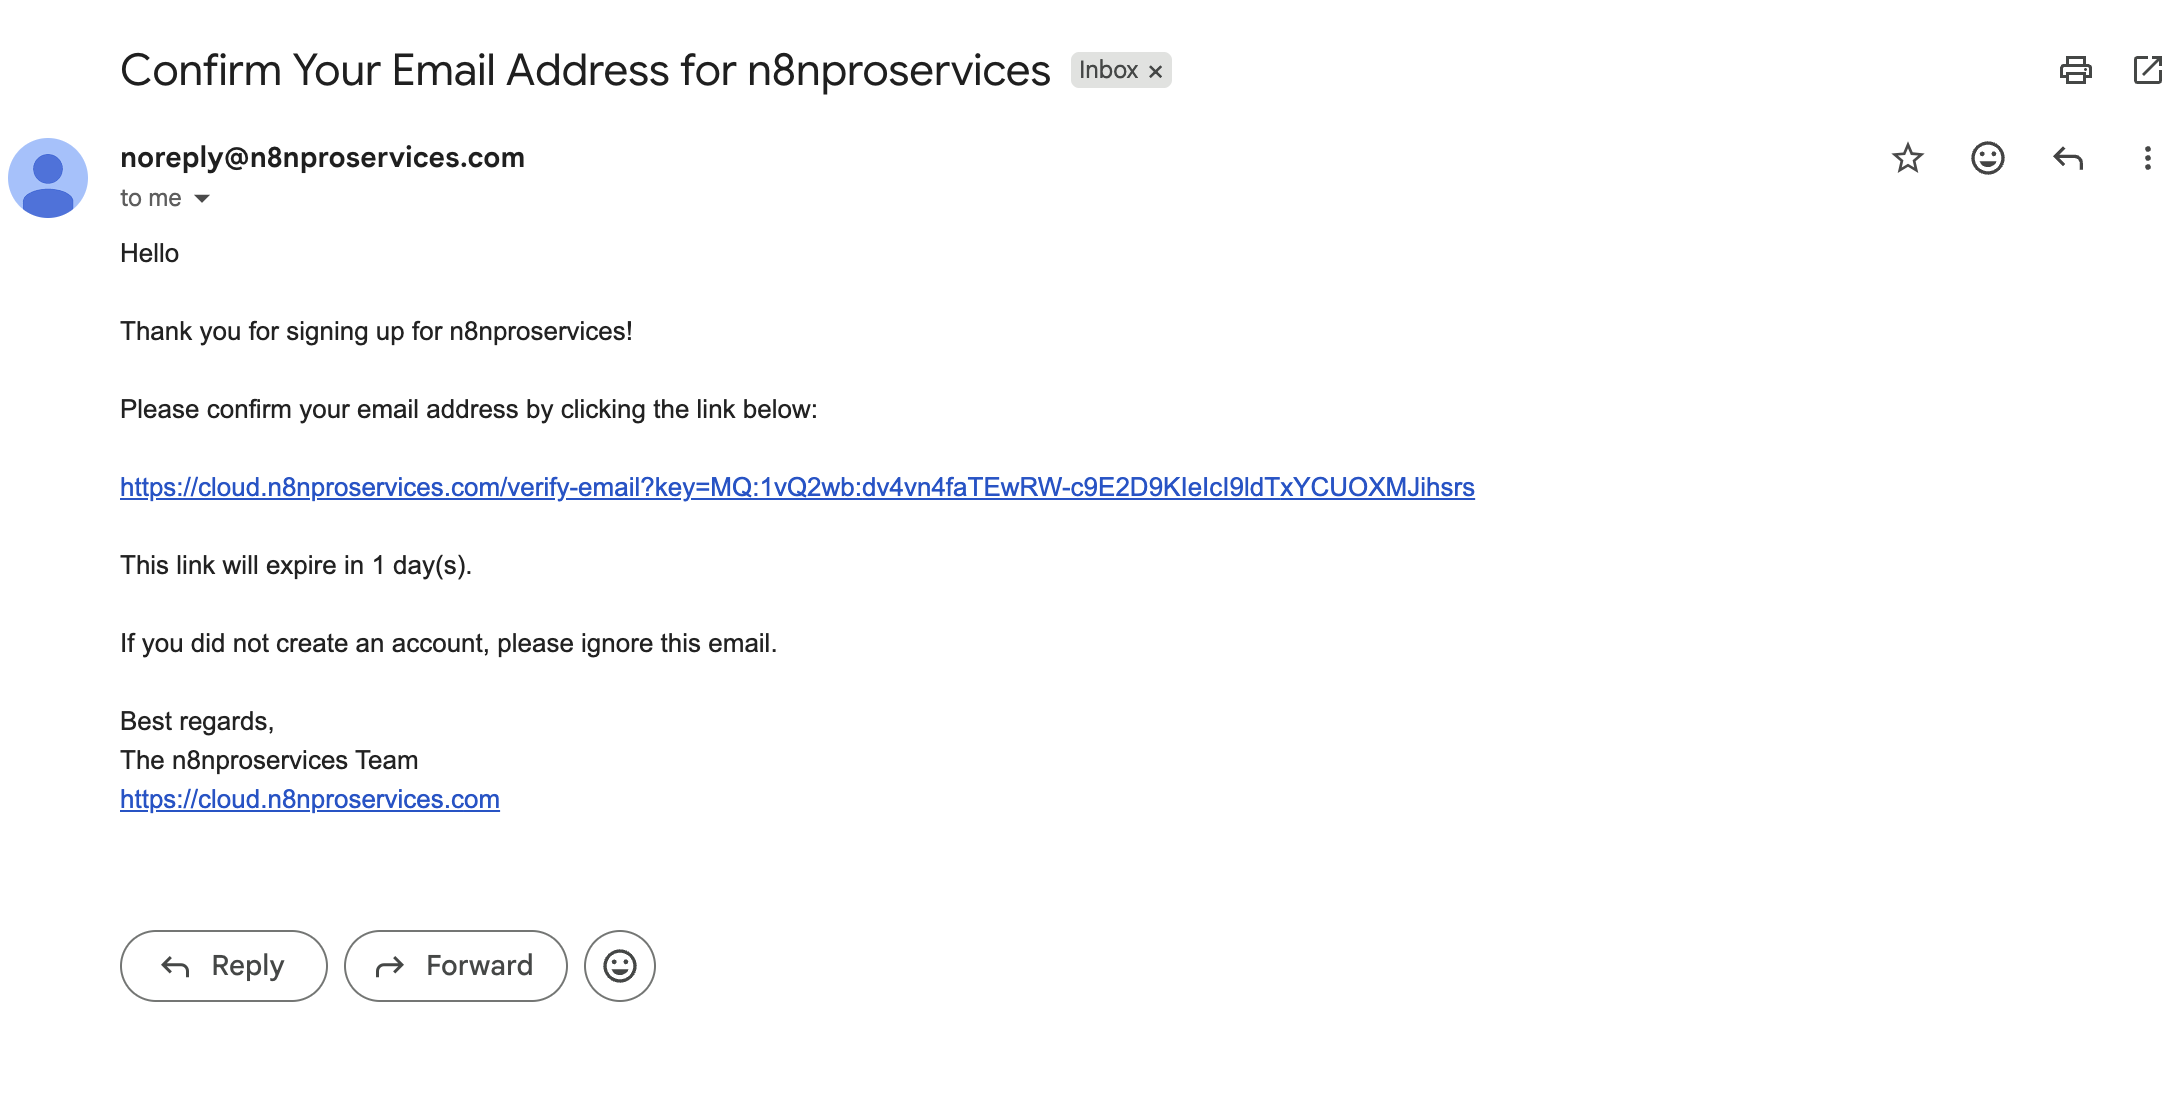
⚠️ Important: If you don't see the email, check your spam folder. The email should arrive within a few minutes.
Step 2: Open the verification email and click the verification link.
Step 3: You'll be redirected to a confirmation page. Your account is now verified and ready to use.
2. Logging In
Step 1: Navigate to the login page.
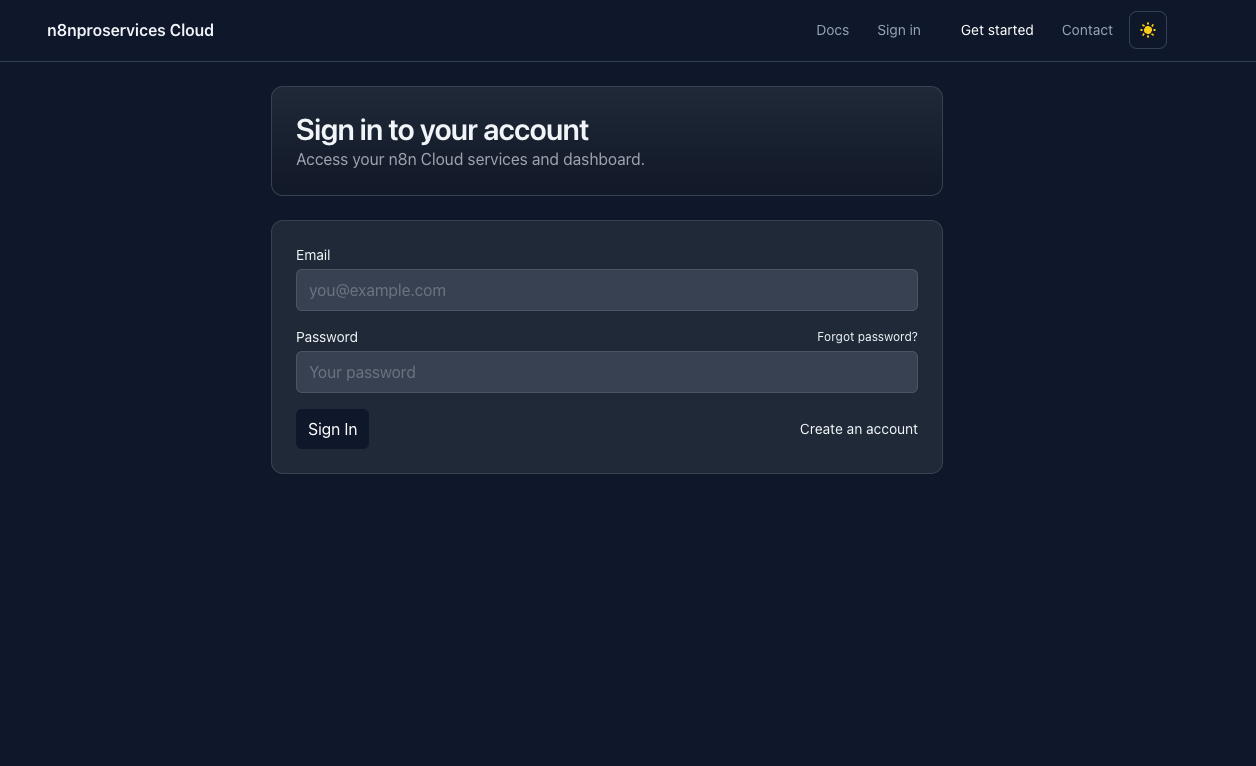
Step 2: Enter your credentials:
- Email: The email you registered with
- Password: Your account password
Step 3: Click "Sign In" to access your dashboard.
💡 Forgot Password? Click the "Forgot Password" link to reset your password via email.
3. Creating an n8n Instance
Step 1: From your dashboard, click the "+ Create Service" button.
Screenshot placeholder:
Step 2: Select "n8n Workflow Automation" from the available service templates.
Screenshot placeholder:
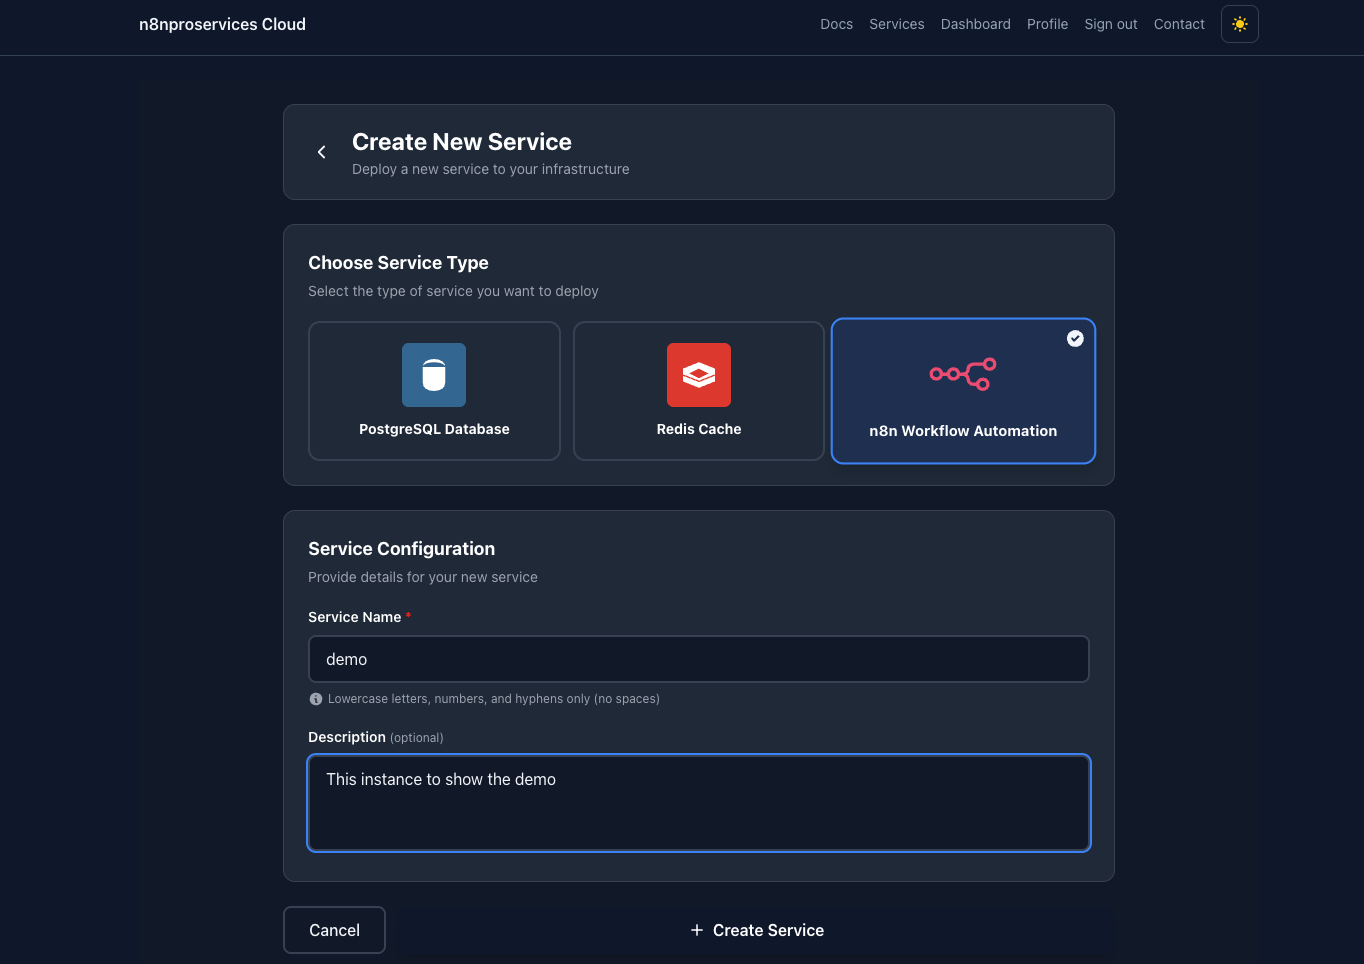
Step 3: Configure your n8n instance:
- Service Name: Enter a unique name (lowercase, hyphens allowed, e.g., "my-workflow")
- Description: Optional description of your instance
Screenshot placeholder:
Step 4: Click "Create Service" button.
Step 5: Wait for the instance to be provisioned. You'll see a loading screen with status updates.
Screenshot placeholder:
💡 Auto-Setup: Your n8n instance is automatically configured with an owner account using your email. You'll be logged in automatically when you access it.
4. Accessing Your Instance
Step 1: Once your instance status shows "Running", click the "Open" button from your dashboard.
Screenshot placeholder:
Step 2: You'll see an authentication screen. The system will securely authenticate you.
Screenshot placeholder:
Step 3: You'll be automatically redirected to your n8n workflow editor.
Screenshot placeholder:
✓ Success! You're now ready to create workflows. Start by clicking the "+" button to add your first node.
5. Managing Your Instance
Viewing Instance Details:
- Click on any service name in your dashboard to view full details
- See status, creation date, and resource information
- Monitor real-time status updates
Screenshot placeholder:
Understanding Instance Status:
- Provisioning: Instance is being created
- Running: Instance is active and accessible
- Failed: Instance encountered an error
6. Deleting an Instance
Step 1: Navigate to the service details page by clicking on the service name.
Step 2: Scroll down to the "Danger Zone" section.
Step 3: Click the "Delete Service" button.
Screenshot placeholder:
Step 4: Confirm deletion in the popup dialog.
⚠️ Warning: Deleting an instance is permanent. All workflows, executions, and data will be lost. This action cannot be undone.
7. Troubleshooting
Email verification email not received
- Check your spam/junk folder
- Wait a few minutes for email delivery
- Verify you entered the correct email address
- Try requesting a new verification email
Instance stuck in "Provisioning" status
- Wait 2-3 minutes for provisioning to complete
- Refresh the dashboard page to check status
- If stuck for more than 5 minutes, delete and recreate the instance
Cannot access n8n instance after clicking "Open"
- Ensure the instance status is "Running"
- Check that your browser allows popups from this site
- Wait a few seconds after instance creation before accessing
- Try refreshing the authentication page
Service name validation error
- Use only lowercase letters, numbers, and hyphens
- Start and end with alphanumeric characters
- Keep name between 3-30 characters
- Avoid using reserved names or special characters
Tier limit reached
- Free tier allows 1 environment only
- Delete existing instances before creating new ones
- Contact support to upgrade your tier for more environments
Need More Help? If your issue persists, please contact support with your service name and a description of the problem.
Last updated: December 2025